Most home practice spaces fail in the same three places: the mat walks across the floor, the surface under your knees is unforgiving, and there is not enough room for a second person, let alone a small group. If you teach in a community hall, run a Sunday session in a garage, or just want a mat that lives next to the couch instead of in a closet, bulk yoga mats plus one honest knee pad fix nearly all of it. I set up floors for a living before I taught on them, and this is the version I walk people through when they want a space that still works at minute 45 of a warm room, not just for the first five minutes of a photo.
Disclosure up front, because you should know where the money goes: this post contains affiliate links. If you buy through them I earn a commission at no extra cost to you. My rule is the one I use in class. I only link gear I would hand to a student and expect to see back next week.
Why you should trust me
I teach vinyasa and a Thursday night recovery class for people with knee and hip histories in Portland, Oregon. Every class I teach goes into a spreadsheet with a row per mat: grip at minute 40, corner curl, how it smells after a month. Before yoga, I spent eight years on a flooring crew installing sprung dance floors and gym rubber in studios and theaters across the Midwest, which is where I learned that "non-slip" is a claim you can measure and that most thickness numbers printed on a box are marketing.
That background is why this guide is about surfaces and joints first and colorways last. It is also why I will tell you to spend less than you think, in a category that very much wants you to spend more.
The four things that actually decide whether a setup works
Four variables matter. Everything else is packaging.
Thickness is a trade, not a score. A 4mm mat sits in the working range for standing poses: enough to soften a hardwood floor, thin enough that your hands and feet do not sink when you load them. Go to 6mm and you start giving up stability in balances. Go to an inch of foam and you are standing on a marshmallow, which is why inch-thick mats get recommended for knees and then quietly abandoned by anyone who tries a warrior three on one.
Grip is chemistry, not texture. The top layer decides whether you slide when you sweat. Texture sells; chemistry performs. That is why I test dry and wet separately, and why I treat any "non-slip" claim that never says "when dry" as an incomplete sentence.
Mat drag is the safety issue nobody talks about. Corner curl and edge lift are what actually cause falls in a studio. A mat that creeps or rolls up at the corner on a smooth floor is a sprained wrist waiting to happen. Heavier mats drag less. Cheap thin mats drag more, which is the honest cost of buying light.
Coverage has to match the room. A standard mat is 68 by 24 inches, and that is one person's practice. If you teach, host, or share a space with a partner, you need a stack, and the arithmetic of buying ten mats one at a time is bad.
The two pieces of gear this setup is built around
You do not need a $160 mat to build a home or small-group space. You need enough surface for the people in the room, and enough cushion under the joints that carry the load. Those are two different products, and I would rather you buy both than spend the same money on one boutique mat and practice on a hard floor anyway.
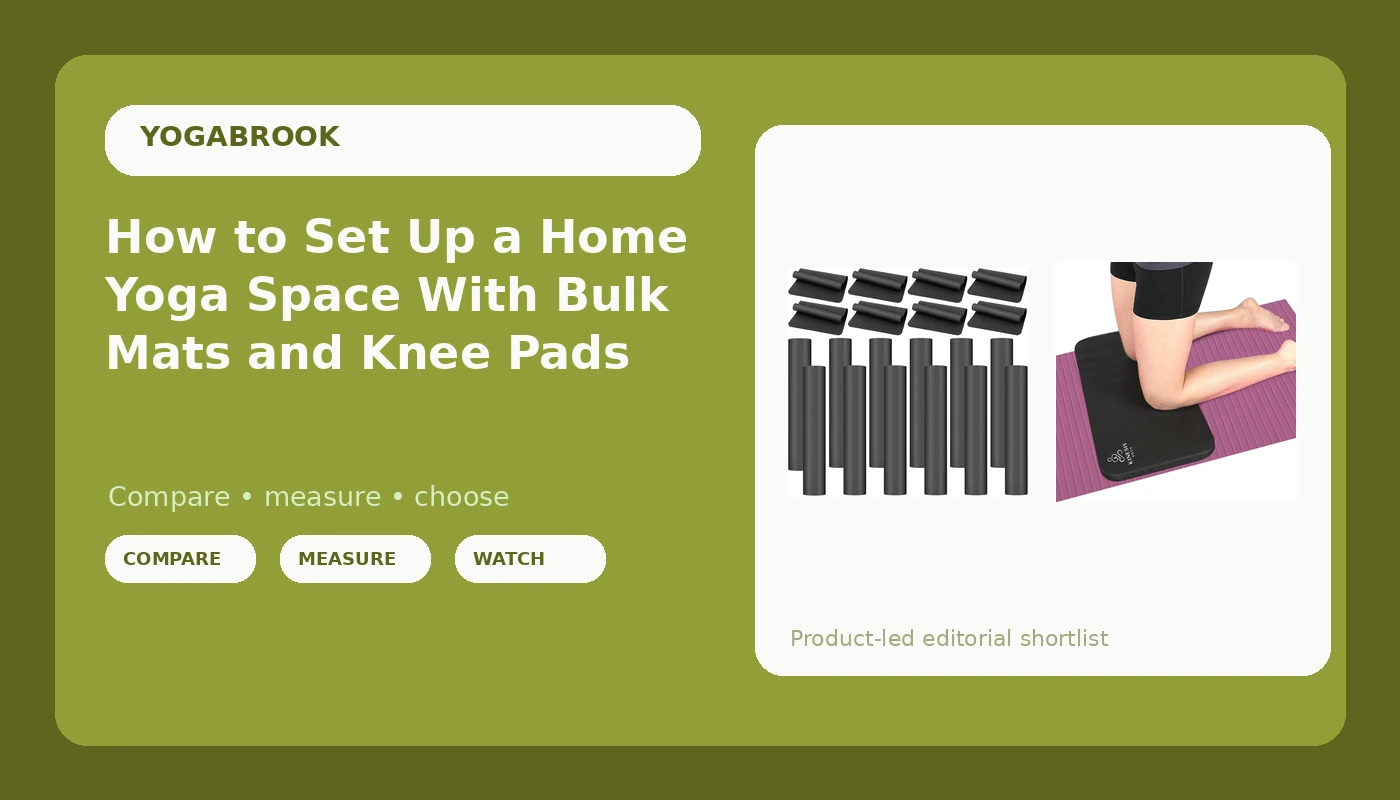
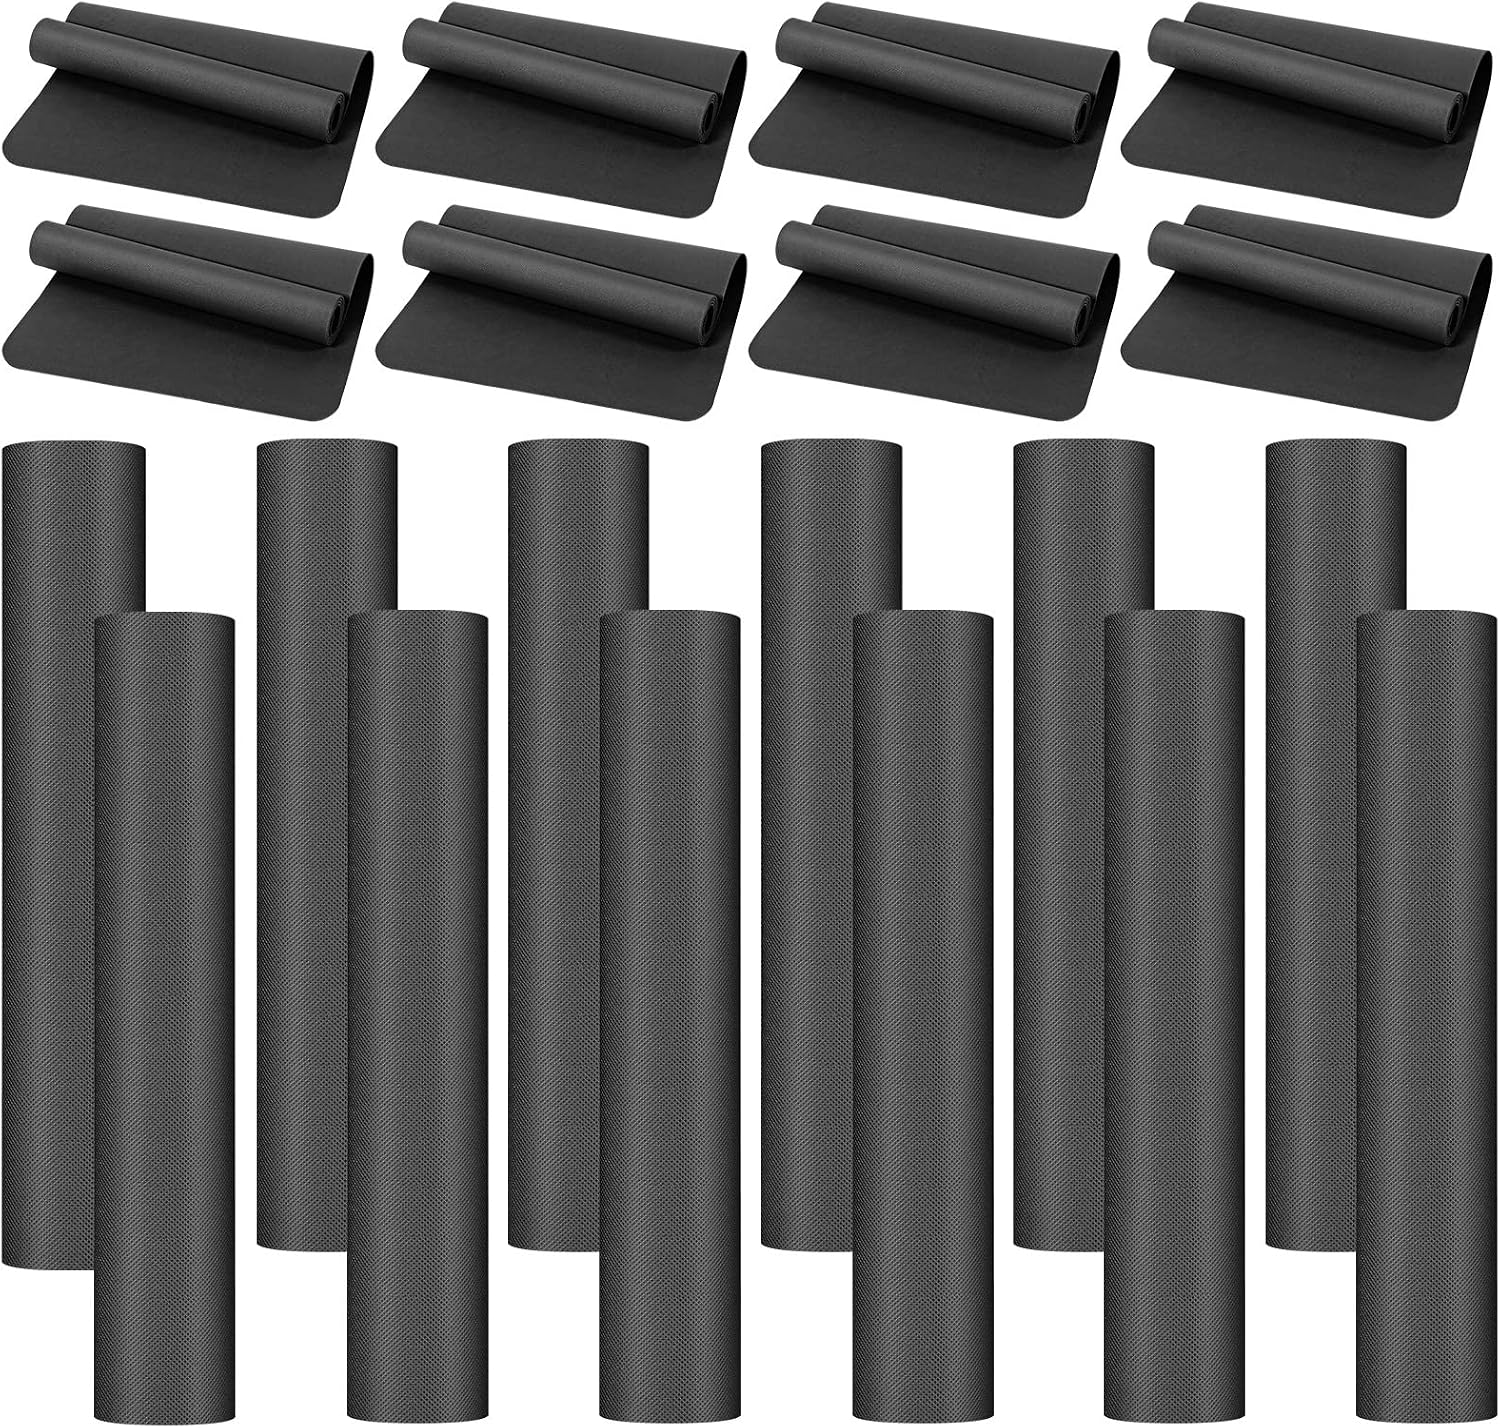
For a room full of people: LEIFIDE 10 Pack Yoga Mat Bulk 68'' x 24'' x 4mm Thick Yoga Mat
 Visit on Amazon →
This is the answer to the question I get every September: how do I put a mat under ten people without spending like a studio? Ten mats at the standard 68 by 24 inches, at 4mm thick, which happens to be the thickness I would choose anyway for standing work. The economics are the whole point. One pack covers a small class, a family, a studio loaner pile, or a garage session where nobody wants to drag their own mat across town.
Where it fits: community classes, church and library rooms, home studios with a partner or kids, and anyone who wants a spare mat that stays rolled out. What to check when it arrives: unroll all ten and let them relax flat for a day before you judge them, and look at whether the corners sit down or lift. A 4mm mat is not a cushion for kneeling, and that is not a defect, it is the design. Add the pad below for that job.
Flaws but not dealbreakers: Thin mats are light, and light mats drag more on smooth floors. If you teach on polished concrete or a slick studio wood floor, tape the corners or put a rug pad underneath. And a bulk pack is a working stack, not a 200-class heirloom. Treat it like the equipment it is and replace it when it stops gripping.
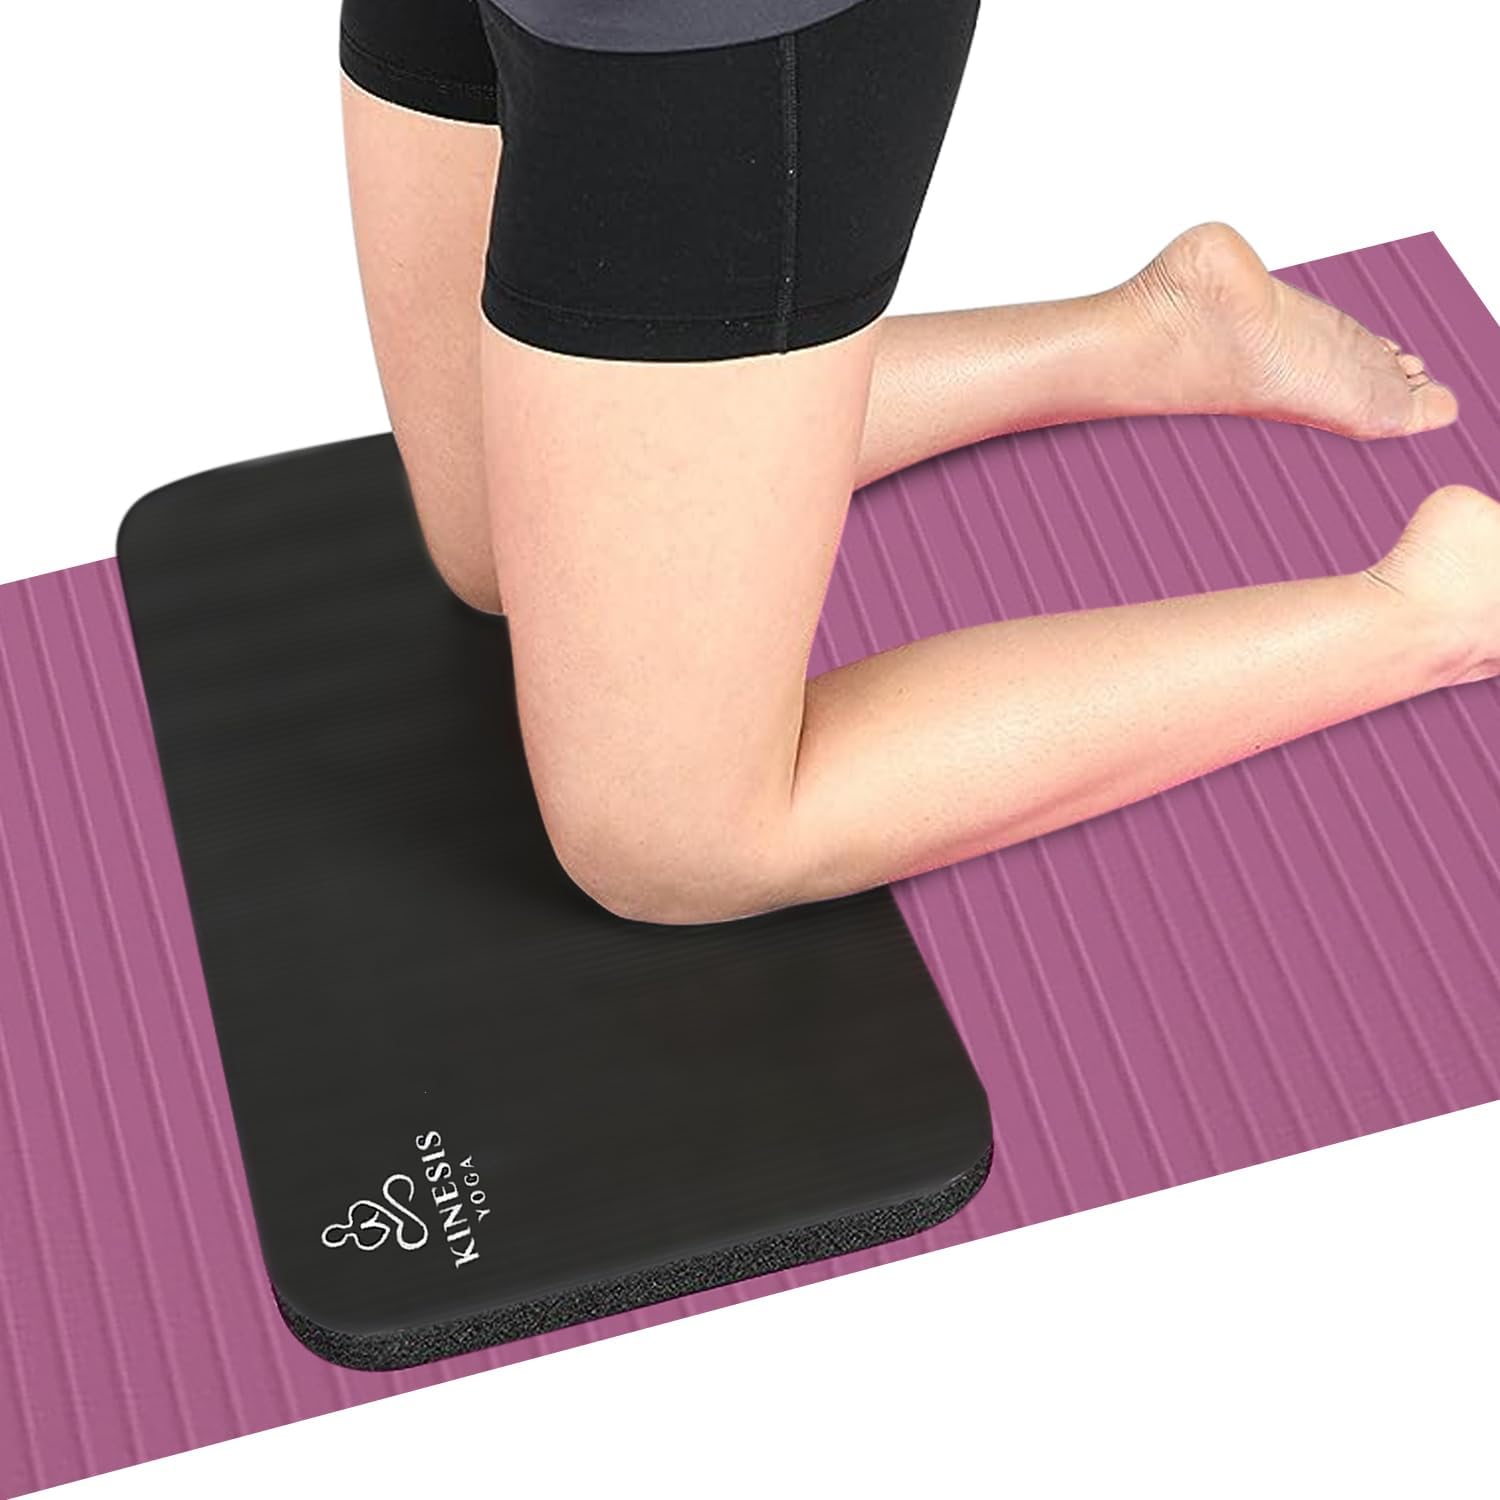
For knees and wrists: Kinesis Yoga Knee Pad Cushion - 0.6 Inch (15mm) Thick Exercise Knee Pad
 Visit on Amazon →
If your knees complain in tabletop, camel, or anything else that puts them on a hard floor, the fix is local cushion, not a thicker mat. A 15mm pad under the knee does something a 6mm mat cannot: it puts the foam exactly where the pressure is and leaves the rest of the mat thin, so your standing poses do not get wobblier just because your kneeling poses got kinder.
Where it fits: bad knees, sensitive wrists in a long plank, tender forearms in sphinx, and any room with a hard floor. It travels, which matters if you practice in a gym or a hotel room where the carpet is thin and the concrete is right underneath. What to check: put it under your knee in a low lunge and see whether the edge digs in. If it does, rotate it so the long axis runs along your shin instead of across it.
Flaws but not dealbreakers: A separate pad is one more thing to carry and one more thing to lose. It can also slide if you set it on a bare slick floor with nothing under it, so place it on the mat itself, at the spot where your knee lands, not on the floor beside the mat.
The setup workflow, step by step
This is the order I actually do it in. It takes an evening, and most of that is waiting.
Step one: Measure the room, not the mat. Budget roughly 6 feet by 2 feet per person plus 18 inches between stations, so people are not knocking wrists in a wide-legged forward fold. A 10 by 12 foot room fits six to eight comfortably. Measure before you buy, because a ten-pack is a commitment to a room, not to a shelf.
Step two: Read the floor. Hardwood, concrete, carpet, rubber. Smooth and hard means drag is your problem. Carpet means grip is your problem, because fibers give a mat less to bite into. Different floors, different fixes.
Step three: Unroll everything and let it relax. Give new mats 24 to 48 hours flat, weighted at the corners if they insist on curling. A mat that spent months rolled tight in a box has muscle memory, and the first class is not the time to fight it.
Step four: Run your own slip test. Dry first: hands in downdog, press and pull back toward your feet. Then wet: mist your palms and repeat. If you slide dry, nothing downstream will save that mat, and it becomes a floor mat or a donation. If you only slide wet, you know your sweat threshold and you can plan around it with a towel or a hand cloth at the top of the mat.
Step five: Place the pads before class, not during. If you are setting up a shared space, put a knee pad at every station from the start. Students who need one will not ask mid-flow, and the people who need it most are the ones least likely to interrupt.
Step six: Fix the drag. Tape the corners, add a thin rug pad under the whole practice area, or accept that you need a heavier base layer. This is the single highest-value ten minutes in the whole setup, because a curling corner is the most common cause of a fall I see in a borrowed room.
Step seven: Clean on a schedule. Diluted white vinegar and water, wiped and air dried, is enough for most mats. Skip oil-based cleaners on a PVC mat, since they leave a residue that behaves like the opposite of grip. If the mat smells like a chemical closet after a month, that tells you something about the material, and it is worth writing down.
Step eight: Store rolled, never folded. Folds crease, creases become weak points, and weak points become tears at the worst moment. Roll from the end you stand on so the mat lies flatter when you unroll it next time.
Step nine: Rotate the stack. In a class, rotate which mats get used first so wear spreads evenly instead of concentrating on the top three. In a home space, rotate the mat you leave out so the sun does not bleach one spot.
What this all costs over five years
Do the arithmetic on cost per use rather than sticker price. Divide the price of a ten-pack by ten and you have a per-mat number, then divide that by the number of classes or home sessions that mat will see. A pack that covers a weekly class for a year works out to cents per person per session, and the knee pad is a one-time purchase that outlives several mats because it never takes the abrasion a full mat does.
The comparison that matters is not bulk pack versus boutique mat. It is a stack you use every week versus one expensive mat you use twice and then feel guilty about. My whole flooring career taught me the same lesson the studio shelf teaches: the surface you actually use is the only one that was worth buying.
Mistakes I see in class every week
- Buying a thick mat for knee comfort, then wondering why balance got harder. Keep the mat thin and cushion the joint.
- Judging grip at minute five. Grip is a wet measurement. Test it with sweaty palms or you have tested nothing.
- Folding mats for storage because they fit a shelf better. Roll them.
- Cleaning with whatever is under the sink. Residue is the enemy of grip.
- Buying one nice mat for a room that needs five, then watching four people practice on bare floor.
The short version
Put enough thin mat on the floor for everyone in the room, add a knee pad wherever joints meet a hard surface, test grip wet before you trust it, and deal with corner curl before someone else does it for you by falling. That is the whole method. None of it requires a boutique mat, and all of it survives a Tuesday.